Even more knowledge

Dental emergencies are common, stressful, and can occur without warning. Statistics show about 2 million people in the U.S. visit an emergency room for dental pain each year, and one in six Americans will experience a dental emergency in their lifetime.
Many of these cases are best handled by dental professionals, and being prepared can make a critical difference. Unexpected events, from a knocked-out tooth to a severe abscess, require immediate, informed action to preserve your oral health and prevent long-term complications.
Not every dental issue requires an urgent visit. Knowing what constitutes an emergency helps you act swiftly when it matters most.
A true dental emergency requires immediate professional attention to stop ongoing tissue bleeding, alleviate severe pain or infection, or address serious trauma. These situations are often potentially life-threatening if left untreated.
The single most important step in any dental emergency is to contact a dental professional immediately. Time is often a critical factor, especially for saving a knocked-out tooth.
Prepare now by saving your dentist's office and emergency contact numbers in your phone. Many practices, including those in Staten Island, offer 24/7 emergency call services or same-day appointments for urgent cases. If you cannot reach your dentist, be prepared to visit an urgent care center or emergency room for severe situations.
While your ultimate goal is to see a dentist or doctor as soon as possible, knowing a few key first-aid steps can help you manage pain, control bleeding, and improve outcomes. The following section provides specific, actionable tips for common emergency scenarios you can use while seeking professional help.
Key Emergency Preparedness Essentials
| Preparation Step | Specific Action | Rationale & Benefit |
|---|---|---|
| Save Contact Info | Store dentist's office & emergency numbers in your phone. | Enables immediate contact, saving critical time during a crisis. |
| Know the Signs | Learn to identify severe pain, trauma, uncontrolled bleeding, and swelling. | Helps you accurately assess urgency and need for immediate care. |
| Assemble a Kit | Gather gauze, a small container with lid, pain relievers, dental wax, salt. | Provides tools for temporary bleeding control, tooth preservation, and pain management. |
| Stay Calm | Take deep breaths to maintain composure and clear thinking. | Reduces panic, lowers blood pressure, and enables better decision-making. |
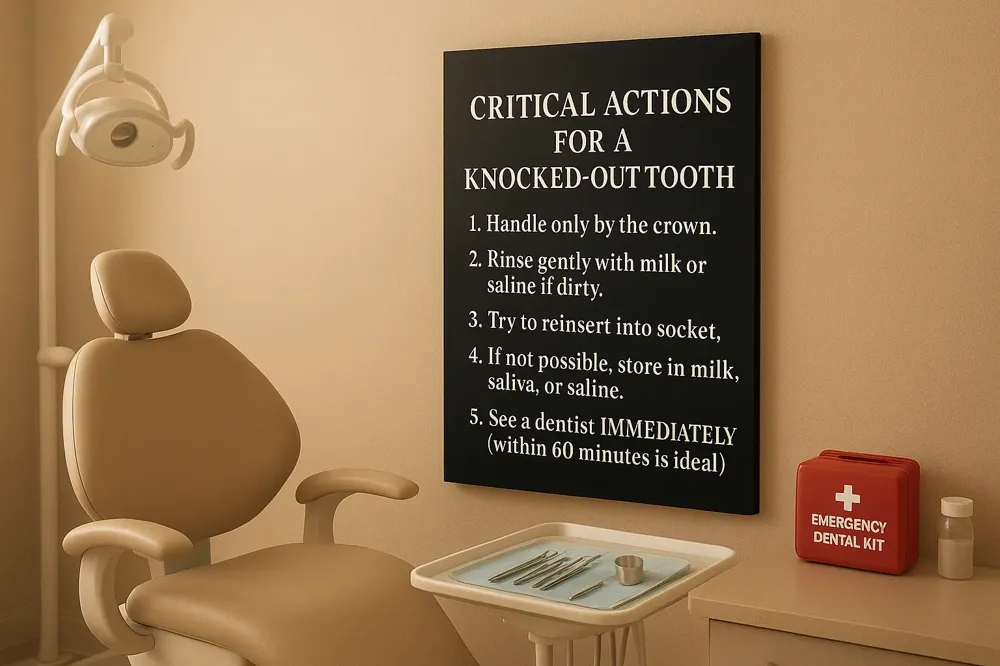
A knocked-out tooth is one of the most urgent dental emergencies. Your chances of saving the tooth are highest if you receive professional dental care within 60 minutes of the injury. Every minute counts, so acting swiftly and correctly is essential.
When you find the tooth, handle it very carefully. Only touch the crown—the part you normally see in the mouth when smiling. Avoid touching the sensitive root structure, as this can damage the cells necessary for successful reimplantation.
If the tooth has fallen on a dirty surface, you may need to clean it. Hold it by the crown and gently rinse it with lukewarm water, a saline solution, or milk. Do not use soap, chemicals, or scrub the tooth. Do not dry it or wrap it in a tissue, as this can cause the root to dry out.
If the situation allows, try to gently place the tooth back into its socket in your gum. Make sure it is facing the correct way. Once in place, bite down softly on a piece of clean gauze or a moistened tea bag to hold it steady until you can see a dentist. If this is not possible, move to the next step.
The tooth must not dry out. The best storage medium is cold milk or a saline solution. You can also place the tooth inside your cheek to keep it bathed in saliva. Special ADA-approved tooth preservation kits (e.g., Save-A-Tooth®) are also excellent options. Avoid storing the tooth in tap water for prolonged periods.
Contact your dentist or an emergency dental clinic right away. Inform them you have a knocked-out tooth and are on your way. Bring the tooth with you, stored in the chosen moist medium. The dentist will clean the area and attempt to splint the tooth back into place, a procedure known as replantation.
A severe and persistent toothache is a classic dental emergency. This intense, often throbbing pain is frequently a symptom of a deeper problem, such as an advancing cavity that has reached the nerve, an abscess (a serious infection at the tooth's root), or significant gum disease. Ignoring this pain can allow the underlying condition to worsen, potentially leading to more extensive damage, increased discomfort, and the spread of infection.
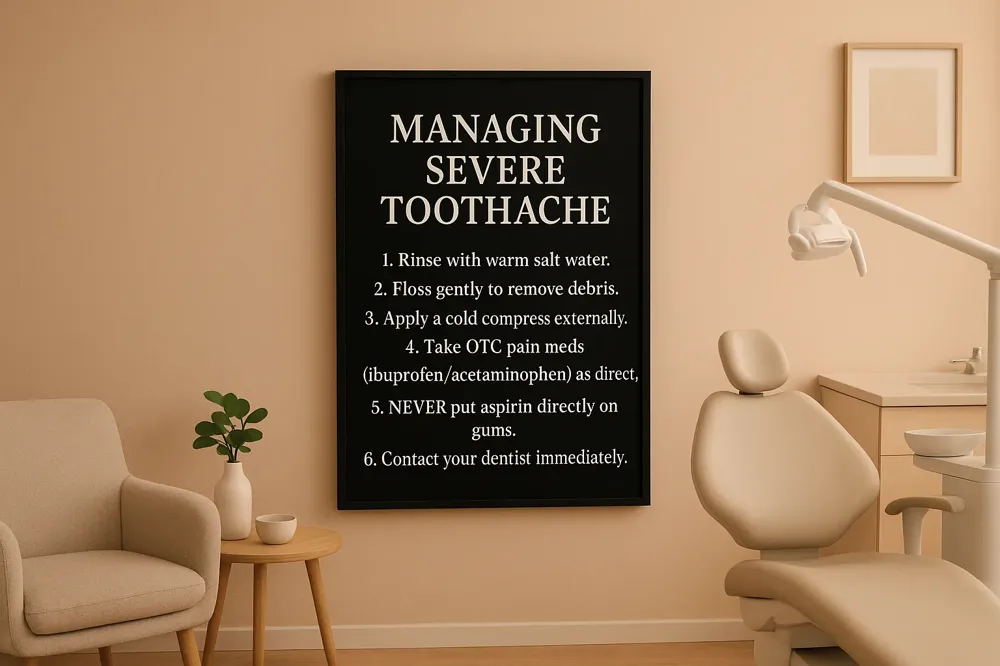
The first step in managing a severe toothache at home is to gently rinse your mouth with warm water. This helps clean the area and can temporarily soothe discomfort. For an added benefit, use a warm saltwater rinse (mix about 1/2 teaspoon of table salt into an 8-ounce glass of warm water). This solution can help reduce inflammation, draw out any infection, and promote healing of minor soft tissue injury around the tooth.
Before assuming the worst, sometimes pain is caused by something as simple as a piece of food lodged between teeth or under the gumline. After rinsing, carefully use dental floss around the painful tooth to dislodge any potential debris. Be gentle to avoid aggravating already sensitive gums. If flossing alleviates the pain, it may have been a temporary issue, but if the pain persists, a more serious cause is likely.
Swelling is a common companion to a severe toothache, especially if an infection is present. To reduce inflammation and provide a numbing effect, apply a cold compress or an ice pack wrapped in a cloth to the outside of your cheek near the painful area. Apply it in intervals—for example, 15 minutes on and 15 minutes off. For pain relief, you can take over-the-counter medications like ibuprofen or acetaminophen according to the package directions.
It is crucial to never place aspirin, other painkillers, or any medication directly on your gums or against the aching tooth. These substances are acidic and can cause a painful chemical burn on your delicate gum tissue, creating a second painful problem on top of your original toothache. Always swallow pain medication as intended.
While these steps can provide temporary relief, they are not a cure. A severe toothache is your body's signal that professional intervention is required. You must contact your dentist immediately to schedule an emergency appointment. Explain your symptoms clearly, including the severity of pain, any visible swelling, and how long it has been occurring. Prompt professional diagnosis and treatment are the only ways to resolve the root cause and prevent further complications.
| First-Aid Action | Specific Instructions | Key Reason / Warning |
|---|---|---|
| Rinse | Use warm water or a warm saltwater solution. | Cleans area, soothes tissue, reduces bacteria. |
| Floss Gently | Carefully remove any lodged food particles. | May relieve pain if caused by debris. |
| Apply Cold Compress | Use on outside of cheek in 15-min intervals. | Reduces swelling and provides numbing relief. |
| Take Pain Medication | Use ibuprofen or acetaminophen as directed. | Manages pain internally until professional care. |
| Avoid Direct Application | Never put aspirin/pills on gums or tooth. | Prevents severe chemical burns to gum tissue. |
| Contact Dentist | Call for an emergency appointment immediately. | Underlying infection or decay requires treatment. |
A chipped, cracked, or broken tooth is a common dental emergency. While often painful and alarming, taking the correct immediate steps can protect the tooth, minimize discomfort, and improve the outcome of professional repair. This is a key part of broken tooth management.
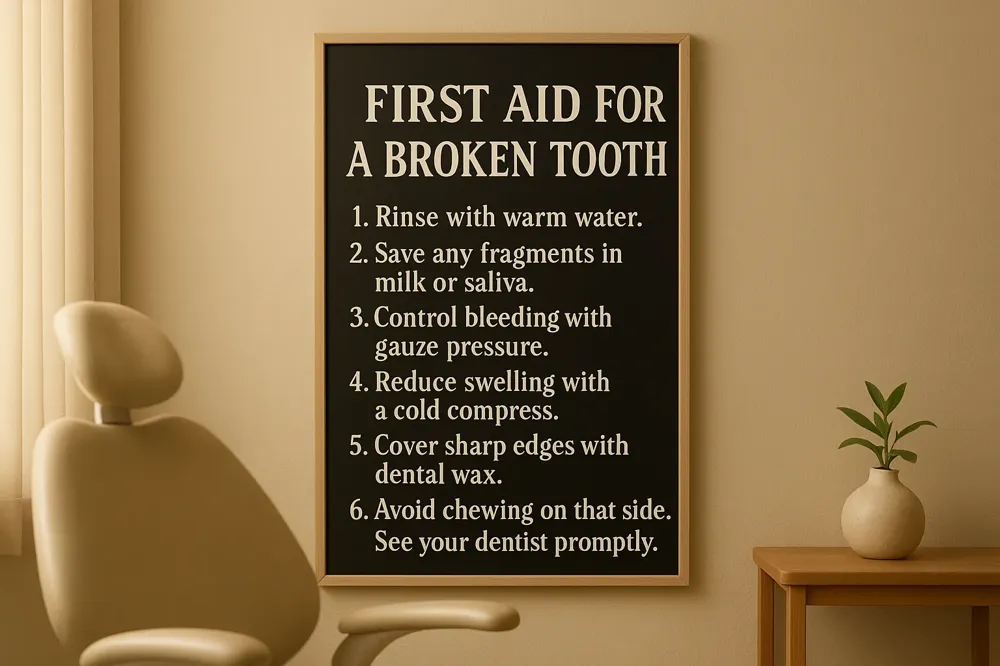
First, carefully rinse your mouth with lukewarm water. This helps clean the area of debris and blood without harsh swishing, which could disturb the fracture site. Let the water drain from your mouth and gently blot the area with a clean cloth or gauze.
Try to locate and save any broken tooth fragments. If possible, place these fragments in a small container of milk or saliva. Bringing these pieces to your dentist can aid in a more comprehensive restoration, as they may be used in the repair process. Saving broken tooth fragments is important.
If the injury is causing bleeding, apply a folded piece of clean gauze or a moistened tea bag to the site. Maintain gentle, steady pressure for about 10 minutes to help a clot form and stop the bleeding. Avoid frequent checking, as this can disrupt the clotting process. This is a fundamental step for bleeding in the mouth first aid.
To manage swelling and dull pain, apply a cold compress or an ice pack wrapped in a cloth to the outside of your cheek or jaw near the affected area. Apply it in intervals—15 minutes on, then 15 minutes off. This external cold therapy helps reduce inflammation and provides numbing relief, which is a recommended toothache home remedy.
A sharp, jagged edge from a broken tooth can cut your tongue or the inside of your cheek. As a temporary safeguard, you can cover the edge with orthodontic wax or a small piece of sugar-free chewing gum. These materials create a smooth barrier, protecting your soft tissues until you can see a dentist. Avoid using this as a long-term solution.
Finally, refrain from chewing on the side of the injured tooth. Stick to a soft diet and avoid extreme temperatures in food and drinks. It is crucial to contact your dentist immediately for an emergency appointment. A professional assessment is needed to determine the extent of the damage and the appropriate treatment, which may range from bonding to a crown or root canal. Knowing what to do for a broken tooth is essential for handling dental emergencies.
| Immediate Action | Purpose | Important Note |
|---|---|---|
| Rinse with warm water | Cleans area of debris | Use lukewarm water; avoid vigorous swishing |
| Save tooth fragments | Aids possible repair | Store in milk or saliva in a clean container |
| Apply gauze pressure | Controls bleeding | Hold gentle pressure for a full 10 minutes |
| Use cold compress | Reduces swelling & pain | Apply externally in 15-minute intervals |
| Cover sharp edges | Protects tongue/cheeks | Use dental wax or sugar-free gum temporarily |
| Avoid chewing | Prevents further damage | Eat soft foods until seen by a dentist |
A lost dental filling leaves a cavity in your tooth. This exposes the sensitive inner layers to air, bacteria, and food particles. You may feel a sharp edge or sudden sensitivity to temperature. Your first step should be to call your dentist for emergency care instead of the emergency room to schedule a repair.
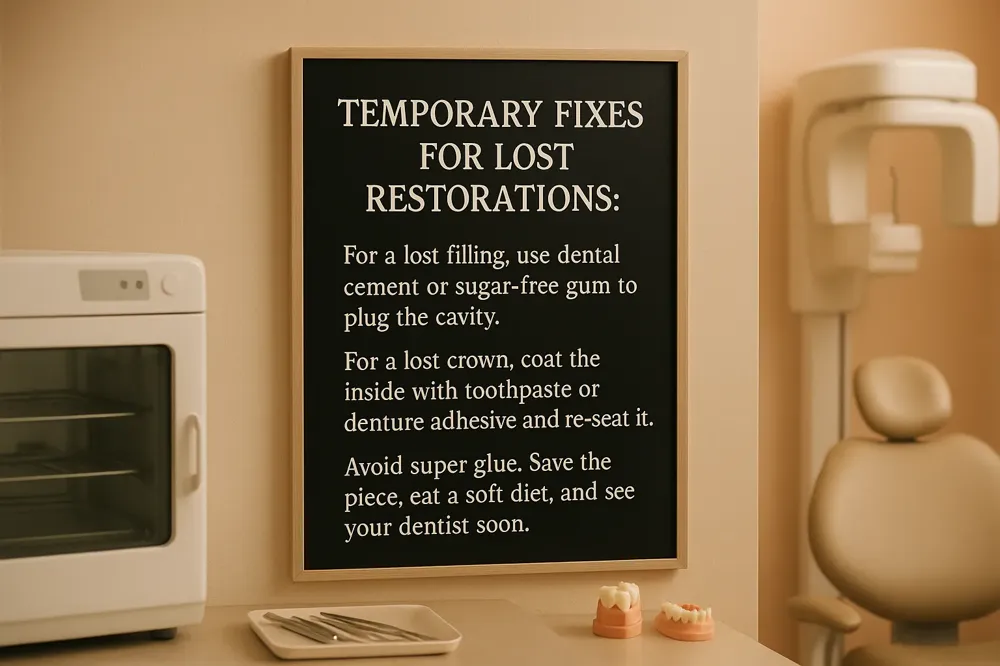
While waiting for your appointment, you can take temporary measures to protect the tooth. First, gently rinse the area with warm water to clean it. Then, dry the cavity with a cotton swab. An over-the-counter dental cement kit from a pharmacy can be used to fill the hole temporarily, similar to lost dental filling remedies. If you don't have cement, a small piece of sugar-free gum can be pressed into the cavity as a short-term plug. Never use gum that contains sugar.
A crown that has come off exposes the prepared tooth underneath, which is often sensitive and vulnerable. Locate the crown and rinse it with warm water. Do not scrub or alter it. You can attempt a temporary reattachment to protect the tooth and improve comfort until you see your dentist.
To do this, first clean the inside of the crown. Then, coat the inner surface with a small amount of toothpaste, denture adhesive, or temporary dental cement as a temporary fix. Avoid household adhesives like super glue, as they are toxic and can ruin the crown and damage your tooth. Carefully slip the crown back onto your tooth, biting down gently on a clean cloth to help seat it. It may feel slightly loose, which is normal for a temporary fix.
Whether you've lost a filling or a crown, there are important steps to follow before your emergency dental care. Always save any pieces or the entire restoration and bring them with you. Your dentist will want to examine them. Maintain gentle oral hygiene, brushing carefully around the area. Stick to a soft diet and avoid chewing on the affected side of your mouth to prevent further damage or dislodgement. These actions help manage discomfort and prevent complications until you receive permanent professional care.
| Temporary Solution | For Which Problem | Key Action | What to Avoid |
|---|---|---|---|
| Dental Cement / Sugar-free Gum | Lost Filling | Plug cavity to shield nerve | Using sugary products |
| Toothpaste / Denture Adhesive | Lost Crown | Coat & re-seat crown | Super glue or epoxy |
| Soft Diet | Both | Eat on opposite side | Hard, sticky, or chewy foods |
| Bring Restoration | Both | Dentist examines fragment | Throwing piece away |

A dental abscess is a painful bacterial infection that forms pus around a tooth root or between teeth and gums. This condition is considered a serious dental emergency, as the infection can spread to surrounding tissues, jawbone, or even into the bloodstream if left untreated. Common signs include a severe, throbbing toothache, swelling in the face or jaw, fever, a foul taste in the mouth, and a pimple-like bump on the gums. You must see a dentist immediately for definitive treatment, which may involve draining the abscess, performing a root canal, or prescribing antibiotics.
While awaiting or traveling to your dental appointment for emergencies, you can manage symptoms with a simple salt-water rinse. Dissolve half a teaspoon of table salt in a cup (about 8 ounces) of warm water. Swish this solution gently in your mouth for about 30 seconds, focusing on the affected area, and then spit it out. Repeating this several times a day can help soothe the tissue, draw pus toward the surface, and reduce bacterial load. Do not swallow the rinse. This is a temporary palliative measure and is not a substitute for professional dental care for emergencies to eliminate the infection.
Swelling is a common and concerning symptom of an abscess. To help reduce facial swelling and numb the area for pain relief, apply a cold compress or an ice pack wrapped in a thin cloth to the outside of your cheek. Apply it for 10-15 minutes at a time, with breaks in between. This external therapy helps constrict blood vessels, slowing the spread of inflammation. Keep your head elevated, even while sleeping, to further help reduce pressure and swelling in the affected area.
Soft tissue injuries in the mouth, such as bites, cuts, or lacerations, can cause significant bleeding. First, rinse your mouth gently with a mild salt-water solution to clean the wound. Then, take a piece of clean, moistened gauze or a dampened tea bag (the tannins in tea can help promote clotting) and apply firm, direct pressure to the bleeding site. Hold constant pressure for a full 15 to 20 minutes without repeatedly lifting the gauze to check, as this can disrupt clot formation.
While applying direct pressure internally, you can also use a cold compress externally on the lips or cheek over the injury. The cold helps constrict blood vessels, which can slow bleeding and reduce subsequent swelling. Use the compress in intervals, as described for abscess swelling. For minor injuries, this combination of internal pressure and external cold is often sufficient to control bleeding from dental injury.
If bleeding does not stop after 20 minutes of steady pressure, you need immediate professional care. Go to an emergency dental clinic or a hospital emergency room. Similarly, for an abscess or any oral injury, be alert for signs of a worsening infection that requires urgent dental care. These red flags include fever, chills, difficulty breathing or swallowing, swelling that spreads to your neck or under your eyes, or red streaks on the skin. These symptoms suggest the infection is spreading and could become life-threatening, necessitating a visit to an emergency room.
| Condition | Immediate First-Aid Action | Key Warning Signs for Emergency Room Visit |
|---|---|---|
| Dental Abscess | Salt-water rinse, external cold compress. | Fever, trouble swallowing, rapid swelling. |
| Bleeding Cut (Tongue/Lip) | Pressure with moist gauze, external cold compress. | Uncontrolled bleeding after 20 min. |
| Suspected Jaw Fracture | Immobilize jaw, apply cold compress. | Teeth don't align, severe pain. |
| Severe Facial Swelling | Keep head elevated, use cold compress. | Swelling impacts vision or breathing. |
| Deep Laceration | Clean with water, apply pressure. | Gaping wound, heavy bleeding. |
A broken wire or bracket can turn a routine day into an uncomfortable one, causing irritation to your cheeks, tongue, or gums. The immediate goal is to alleviate discomfort and prevent further injury until you can see your orthodontist for a professional repair. Staying calm and handling the situation carefully is crucial.
If a wire is poking you, your first step should be to try and reposition it. Using a clean, blunt object like the eraser end of a pencil or a cotton swab, gently nudge the wire into a more comfortable position. Do not use excessive force, as this could cause the wire to break further or damage the bracket.
After repositioning, or if repositioning isn't possible, you need to cover the sharp or irritating end. Apply a small piece of orthodontic wax directly over the poking wire or bracket. If you don't have orthodontic wax, a small cotton ball or a piece of gauze can serve as a temporary cushion. This barrier will protect your sensitive oral tissues from scratches and sores.
It is imperative that you never attempt to cut the wire yourself. Cutting the wire poses a serious risk of swallowing or inhaling the small, sharp piece. Additionally, using tools like nail clippers or scissors can easily slip and cause injury to your mouth. This step is about safe, temporary management, not a DIY fix.
If a bracket becomes loose but is still attached to the wire, you can also use orthodontic wax to secure it temporarily and prevent it from sliding and causing more irritation. Simply mold a small amount of wax over the bracket to hold it in place and smooth out any rough edges.
These temporary measures are only meant to provide comfort for a short period. You must contact your orthodontist's office as soon as possible to explain the situation and schedule a repair appointment. Most orthodontic practices are accustomed to such issues and can often provide prompt attention to get your treatment back on track safely.
| Action | Tool/Method | Purpose & Important Note |
|---|---|---|
| Reposition Wire | Pencil eraser, cotton swab | Move wire gently to a comfortable spot; avoid using fingers. |
| Cover Irritation | Orthodontic wax, cotton ball | Create a smooth barrier to protect cheeks, gums, and tongue. |
| Secure Loose Bracket | Orthodontic wax | Stabilize bracket temporarily to prevent sliding and discomfort. |
| Contact Professional | Phone call to orthodontist | Schedule essential repair; describe issue for best advice. |
| Avoid Dangerous Fix | Do not cut the wire | Prevents risk of swallowing/inhaling wire or causing mouth injury. |
A dental emergency can be stressful. Having a pre-assembled kit at home allows you to respond quickly and effectively. This preparation can help manage dental pain while waiting, control bleeding, and preserve damaged teeth while you arrange to see your emergency dentist.
Gather these items and store them together in a designated place:
Your dental emergency kit is incomplete without your dentist’s contact details. Write the office’s main and after-hours emergency numbers on a card and keep it with the supplies. Also, save these numbers in your mobile phone for immediate access.
This kit empowers you to take correct, initial steps for dental emergency first aid. Instead of scrambling to find supplies, you can focus on providing appropriate first aid. Remember, these supplies are for temporary management only. Always contact your dentist immediately for dental crisis or seek professional care promptly to address the underlying problem.
Common Supplies for a Home Dental Emergency Kit
| Supply | Primary Use | Key Consideration |
|---|---|---|
| Gauze Pads | Control oral bleeding | Apply gentle pressure for 10-15 minutes |
| Small Container | Store a knocked-out tooth | Use milk or saliva to keep tooth moist inside |
| Pain Relievers | Manage discomfort | Ibuprofen can help reduce inflammation |
| Dental Wax | Cover sharp edges | Prevents cuts to tongue and cheeks |
| Cold Compress | Reduce swelling | Apply externally, not directly to skin |
| Table Salt | Make saline rinse | Mix ½ tsp salt in 8 oz warm water |
| Dental Floss | Remove lodged objects | Safer than using sharp tools |
A dental emergency is any situation involving your teeth, gums, or mouth that requires immediate professional attention. The goal is to alleviate severe pain, stop uncontrolled bleeding, save a tooth, or treat a serious infection. These issues can worsen quickly if left untreated, potentially leading to permanent damage or more complex health problems.
Common dental emergencies that demand urgent care include:
If you experience any of these, contact your dentist immediately. Most dental practices, including Gentle Dentistry of Staten Island, have protocols for handling dental emergencies and can often provide same-day emergency appointments.
You can go to a hospital emergency room (ER) or urgent care center for a dental emergency, especially in specific, severe circumstances. This is the recommended course of action for life-threatening situations or issues that could compromise your airway. Examples include significant trauma, uncontrolled bleeding, or facial swelling that is spreading to your neck or eyes.
However, for most dental-specific problems—like a severe toothache, broken tooth, lost filling, or knocked-out tooth—contacting an emergency dentist is typically the faster and more effective solution. While ERs can provide pain medication and antibiotics, they usually cannot perform the definitive dental treatments needed, such as re-implanting a tooth or performing a root canal. Your emergency dentist is equipped to address the root cause and provide lasting relief.
Not every dental problem requires a panicked after-hours call. Understanding the difference helps ensure critical care is available for those who need it most.
| Situation | Is This an Emergency? | Recommended Action |
|---|---|---|
| Knocked-out permanent tooth | YES | Handle by crown, rinse gently, try to reinsert or store in milk. See a dentist immediately (within 1 hour is ideal). |
| Uncontrolled bleeding from mouth | YES | Apply pressure with clean gauze. If bleeding persists after 15-20 mins, seek emergency care. |
| Painful facial swelling or abscess | YES | This indicates a serious infection. Rinse with salt water and see a dentist right away. |
| Broken tooth with sharp edges causing pain | YES | Rinse mouth, apply cold compress for swelling, see dentist promptly. |
| Dull or mild toothache | No | Rinse, floss, take OTC pain reliever. Schedule a dental appointment soon. |
| Lost filling or crown (no severe pain) | No | Use temporary dental cement or sugar-free gum. Schedule a dental visit. |
| Minor chip or crack (no pain) | No | Cover sharp edge with dental wax. Schedule a routine appointment. |
| Broken braces wire (not cutting) | No | Use orthodontic wax to cover end. Schedule an orthodontist visit. |
| Object stuck between teeth | No | Gently try to remove with floss. If unsuccessful, call dentist for advice. |
Making the right choice on where to seek care can save critical time. Use this guide to help decide your first step during a dental crisis.
| Your Symptoms | First Action | Reason |
|---|---|---|
| Severe toothache, knocked-out tooth, lost crown, cracked tooth | Call your dentist first | Dentists can perform the necessary procedures (root canals, re-implantation) that an ER cannot. Most reserve time for emergencies. |
| Significant facial swelling, difficulty breathing/swallowing | Go to the ER immediately | These can be signs of an infection spreading or airway obstruction, which are life-threatening medical emergencies. |
| Uncontrolled bleeding from mouth, deep cuts | Apply pressure and go to the ER | Requires immediate medical intervention to control bleeding and assess for other injuries. |
| Suspected broken jaw or facial bones | Go to the ER immediately | This is a traumatic injury requiring imaging and specialist care beyond dental scope. |
| After hours with severe dental pain | Call dentist's emergency line | Many offices have on-call services. If unreachable, an ER can provide temporary pain relief until you see a dentist. |
When in doubt, it is always safest to call your dental office. They can provide specific guidance for dental emergencies based on your symptoms and help direct you to the most appropriate care.
An emergency dentist offers immediate treatment for urgent dental care problems. Their primary goal is to relieve severe pain, stop ongoing issues like bleeding, and prevent permanent damage. Services often include addressing severe toothache, reinserting or stabilizing knocked-out or loosened teeth, and repairing cracked or chipped teeth. They can also treat painful infections like dental abscess, perform necessary extractions, or start a root canal. Many emergency dentists, including those at Gentle Dentistry of Staten Island, can provide same-day appointments for prompt relief.
During a dental emergency, the specific services available will depend on your situation. An emergency dentist is equipped to handle a wide range of urgent needs.
For physical injuries, such as a knocked-out permanent tooth, the dentist will attempt to clean and reimplant the tooth, often using a splint to stabilize it. For a broken or severely cracked tooth, treatments may include dental bonding, placing a temporary or permanent crown, or performing a root canal if the nerve is exposed.
When infection is the primary issue, such as with a dental abscess, the emergency dentist will work to drain the infection and may prescribe antibiotics. They can also address lost or broken dental work by recementing a crown or providing a temporary filling.
Key emergency services include:
Today's dental offices use advanced technology to diagnose and treat emergencies quickly and accurately. These tools help create an effective treatment plan on the spot.
Digital X-rays provide clear images of teeth, roots, and bone with minimal radiation exposure, allowing dentists to instantly see fractures, infections, or other hidden problems.
For more complex cases, some practices use Cone Beam Computed Tomography (CBCT). This technology creates a detailed 3D image of your teeth, jaws, and nerves, which is invaluable for planning treatment for severe trauma, impacted teeth, or complex root fractures.
Other tools, like intraoral cameras, let the dentist show you real-time images of the problem area on a screen, helping you understand your condition. These technologies enable precise diagnosis and often allow for same-day treatment, reducing your discomfort and recovery time.
Stabilizing the immediate problem is just the first step. Follow-up care is essential for ensuring complete healing and preventing future complications. The emergency dentist will provide specific aftercare instructions, which you must follow closely.
This may involve taking prescribed medications, using a special mouth rinse, eating soft foods, or applying ice packs. It's also crucial to attend all scheduled follow-up appointments. During these visits, the dentist will check the healing process, remove any temporary materials like splints, and discuss long-term restoration options, such as a permanent crown or dental implant.
Ignoring follow-up care can lead to reinfection, poor healing, or failure of the initial treatment. A comprehensive emergency dental practice will guide you from crisis management through to full restoration, ensuring your oral health is fully recovered.
| Common Emergency Issue | Immediate Service Provided | Typical Follow-Up Care & Restoration |
|---|---|---|
| Knocked-Out Tooth | Reimplantation & Splinting | Splint removal, monitoring healing, potential root canal |
| Severe Toothache / Abscess | Drainage, medication, possible root canal start | Completion of root canal, permanent crown placement |
| Broken or Cracked Tooth | Bonding or temporary crown | Fabrication and placement of a permanent dental crown |
| Lost Filling or Crown | Temporary filling or recementing crown | New permanent filling or crown fabrication and fitting |
| Soft Tissue Injury (cut, bite) | Cleaning, suturing if needed | Suture removal, check for proper healing |
A comprehensive and proactive safety plan is essential for any dental office. This begins with ensuring all staff members maintain current certifications in CPR and basic life support. A designated emergency response team should be formed, with each member having a clear, assigned role. A critical part of the plan is establishing a swift, unambiguous protocol for contacting Emergency Medical Services (EMS) via 911. The physical setup is equally important; offices must maintain an easily accessible, well-stocked emergency kit. This kit should include essential medications, an oxygen supply, and an automated external defibrillator (AED). All items must be checked regularly for expiration dates and functionality. Regular emergency drills and scenario-based training are not optional; they are vital. These exercises ensure the team can respond calmly, communicate clearly, and execute protocols effectively under the stress of a real crisis. Finally, a thorough review of each patient's medical history and current medications during every visit is a fundamental preventive step, allowing the team to identify and mitigate potential risks.
Training is the cornerstone of effective emergency response. Studies indicate a significant confidence gap among dental professionals, with many feeling unprepared for serious medical events. To bridge this gap, continuous education beyond dental school is mandatory. Staff should be trained not only in using emergency equipment like AEDs but also in recognizing early signs of patient distress, such as fainting (syncope) or low blood sugar (hypoglycemia). Regular, scheduled drills—at least annually, and more frequently with staff changes—are crucial. These mock emergencies increase team confidence, reinforce roles, and improve communication. Effective communication during a crisis means speaking clearly, delegating tasks efficiently, and avoiding raising one's voice, which can spread panic. Post-drill debriefings allow the team to discuss what worked, what didn't, and how to improve, turning each simulation into a learning opportunity that enhances overall patient safety.
A well-equipped emergency kit is a non-negotiable part of dental office preparedness for medical emergencies in the dental office. Key items go beyond basic first-aid supplies. Recommended medications include epinephrine for severe allergic reactions, oral glucose for hypoglycemia, aspirin for potential cardiac events, and glyceryl trinitrate for angina. Equipment should include a reliable blood pressure monitor, a stethoscope, and portable oxygen with a delivery system. Many states now require dental offices administering sedation to have an AED on-site. It is the responsibility of a designated team member to regularly audit this kit, checking medication expiration dates and ensuring equipment like the AED is in working order. This kit must be stored in a known, uncluttered location for immediate access. A formal written emergency action plan should detail the steps for every foreseeable scenario, from fainting to cardiac arrest, providing a clear roadmap for the team to follow.
A prepared dental office transforms potential crises into manageable events, directly safeguarding patient well-being. When a team is trained and equipped, they can stabilize a patient quickly, preventing a minor issue from escalating into a life-threatening one. This readiness also creates a calmer clinical environment, which benefits all patients, especially those with dental anxiety. Knowing that the staff is prepared for any situation builds immense trust and reinforces the practice's commitment to comprehensive, patient-centered care. Furthermore, effective preparation has legal and ethical dimensions; it meets state board requirements and fulfills the dentist's duty of care. Ultimately, this culture of safety ensures that every patient receives care in an environment where their overall health is prioritized, not just their oral health.
| Preparedness Element | Key Actions | Benefit to Patient Safety |
|---|---|---|
| Staff Training | CPR/BLS certification, role assignment, recognition of distress signs. | Enables swift, knowledgeable first response to stabilize patient. |
| Emergency Kit | Stock ADA-recommended drugs/equipment, regular expiration checks. | Provides tools for immediate intervention during critical events. |
| Drills & Protocols | Conduct mock scenarios annually, debrief after drills, maintain written plan. | Ensures team acts cohesively and calmly under real pressure. |
| Prevention | Review patient medical history, consult physicians for complex cases. | Identifies and mitigates risks before treatment begins. |
Being prepared with knowledge and a plan is your strongest defense during a dental crisis. Understanding what constitutes an emergency and how to provide immediate first-aid empowers you to act effectively before reaching professional help.
Temporary home care is never a substitute for expert treatment. A swift response is crucial for saving a knocked-out tooth, stopping an infection from spreading, or preventing permanent damage. Always contact a dental professional immediately for any severe issue.
At Gentle Dentistry of Staten Island, Dr. Sterling and Dr. Skurnick are committed to being your reliable partner. We offer compassionate, patient-centered emergency care, with same-day appointments and guidance available 24/7 to address your urgent needs promptly and expertly.
We encourage you to save our contact number in your phone for quick access. Prioritizing regular check-ups, good oral hygiene, and wearing protective mouthguards during sports are the best strategies to minimize your risk of future dental emergencies and maintain a healthy smile.